
5 Essential Smart Home Device Calibrations for Peak Performance in 2026: A Step-by-Step Guide for U.S. Homeowners.
Welcome to the future of home living! As we move further into 2026, smart home technology continues to evolve at an incredible pace, offering unparalleled convenience, security, and energy efficiency. However, just like any sophisticated system, your smart home devices require regular maintenance and, crucially, calibration to ensure they operate at their peak. Ignoring these essential steps can lead to inaccurate readings, inefficient energy consumption, and even security vulnerabilities. This comprehensive guide is designed specifically for U.S. homeowners, providing a step-by-step approach to master smart home calibration, ensuring your connected ecosystem performs flawlessly.
Why Smart Home Calibration is Non-Negotiable in 2026
In the rapidly advancing world of smart home technology, device calibration has transitioned from a niche technical task to a fundamental aspect of home maintenance. Imagine a high-performance sports car never getting its tires aligned or engine tuned; its potential would be severely limited, and its longevity compromised. Your smart home is no different. Each sensor, actuator, and communication module relies on precise data and accurate responses to function as intended. Without proper smart home calibration, your devices might be making decisions based on faulty information, leading to a cascade of inefficiencies and frustrations.
For instance, an uncalibrated smart thermostat might incorrectly read your home’s temperature, causing your HVAC system to run longer or shorter than necessary, directly impacting your energy bills. Smart lighting that isn’t properly calibrated might not respond accurately to ambient light conditions, defeating the purpose of energy-saving automation. Security cameras with misaligned fields of view could leave crucial blind spots, compromising your home’s safety. In 2026, with the increasing integration of AI and machine learning into smart home systems, the accuracy of the data input through calibration becomes even more critical for these systems to learn and adapt effectively to your lifestyle.
Moreover, regular smart home calibration can extend the lifespan of your devices. By ensuring they operate within their optimal parameters, you reduce unnecessary strain and wear and tear. This not only saves you money on premature replacements but also contributes to a more sustainable smart home ecosystem. As U.S. homeowners become more reliant on their smart devices for daily tasks, from managing household chores to monitoring elderly relatives, the reliability and accuracy provided by proper calibration are paramount.
This guide aims to demystify the process, breaking down complex technical jargon into actionable steps. We’ll focus on five key areas where calibration makes the most significant impact, empowering you to take control of your smart home’s performance and unlock its full potential in 2026 and beyond.
1. Smart Thermostat Calibration: Ensuring Perfect Climate Control
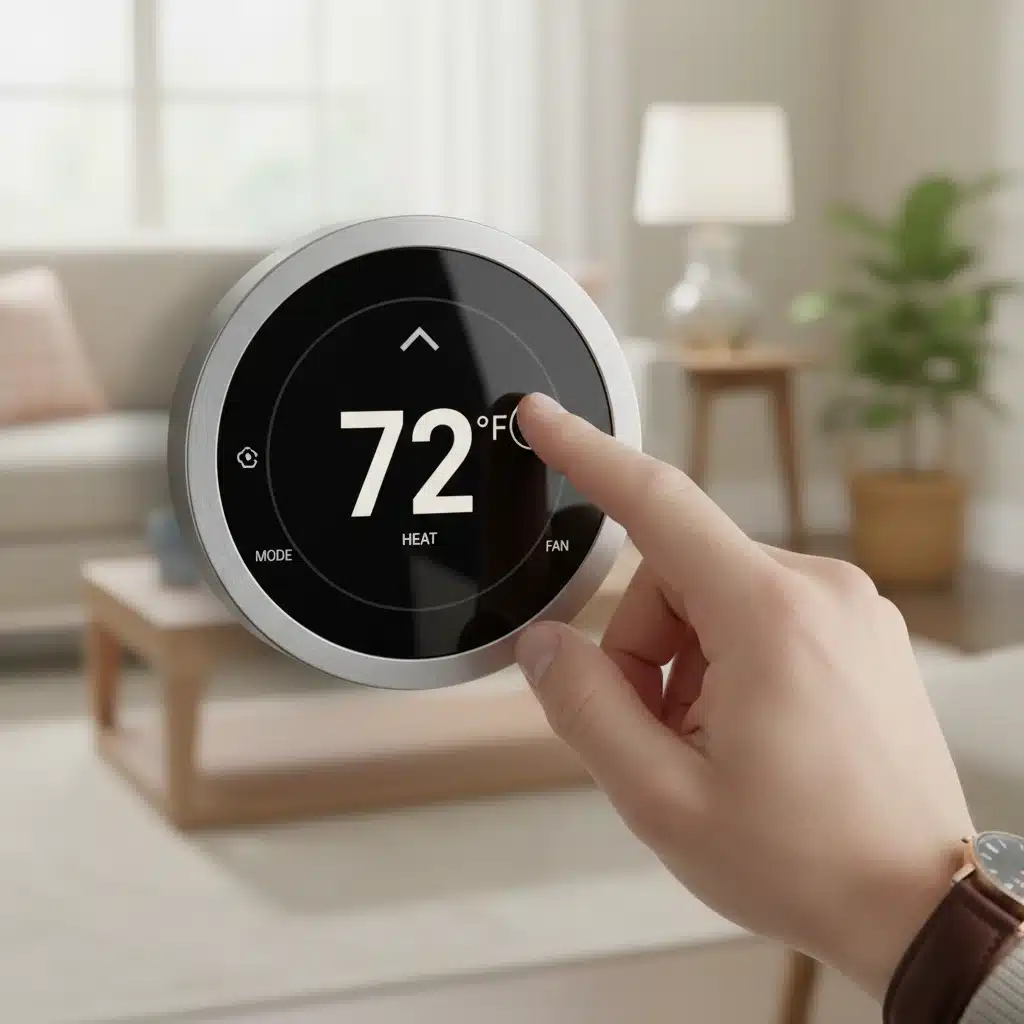
Your smart thermostat is often the brain of your home’s climate control system, responsible for maintaining comfort and optimizing energy usage. An accurate temperature reading is fundamental to its operation. Over time, environmental factors, sensor drift, or even minor physical shifts can cause your thermostat’s internal sensor to provide inaccurate readings. This leads to your HVAC system working harder than it needs to, resulting in higher energy bills and an inconsistent indoor climate. Regular smart thermostat calibration is essential.
Step-by-Step Thermostat Calibration:
- Gather Your Tools: You’ll need an accurate, independent thermometer (a digital one is best) that you know to be reliable. Place it near your smart thermostat, but not directly on it, to avoid influencing its sensor.
- Wait and Observe: Allow the independent thermometer to acclimate to the room temperature for at least 15-30 minutes. Compare its reading to your smart thermostat’s display. Note any discrepancy.
- Access Calibration Settings: Most smart thermostats, like Nest, Ecobee, or Honeywell Home, have a calibration or offset setting within their advanced menu or companion app. Consult your device’s manual or manufacturer’s website for specific instructions on how to access this.
- Adjust the Offset: If your independent thermometer reads 70°F and your smart thermostat reads 72°F, your thermostat is reading 2 degrees high. You would then adjust the offset setting by -2°F to bring it in line with the actual room temperature. Conversely, if it reads low, you’d add a positive offset.
- Verify and Monitor: After making the adjustment, wait another 30 minutes and re-check the readings. Repeat the process if necessary until both thermometers show identical or very close temperatures. Periodically check this calibration, especially after significant temperature fluctuations outside or if you notice your HVAC system behaving unusually.
Proper smart thermostat calibration ensures your home is always at the desired temperature, preventing energy waste and enhancing comfort. It’s a small task with significant benefits for your utility bills and overall well-being.
2. Smart Lighting Calibration: Optimizing Ambiance and Energy Savings
Smart lighting systems, such as Philips Hue, Lutron Caséta, or smart bulbs from various manufacturers, offer incredible flexibility in creating ambiance and saving energy. However, for features like adaptive lighting, daylight harvesting, or motion-activated routines to work effectively, your system needs to understand its environment and the capabilities of each light fixture. Smart lighting calibration goes beyond just pairing bulbs; it involves fine-tuning brightness levels, color temperatures, and sensor sensitivities.
Step-by-Step Smart Lighting Calibration:
- Fixture Brightness Range: Many smart bulbs allow you to set a ‘minimum’ and ‘maximum’ brightness level. While the app might show 1% to 100%, the actual usable range might be narrower for optimal performance or to avoid flickering at very low levels. Experiment with your dimmer settings to find the lowest stable brightness for each bulb and set that as your ‘minimum’ in the app if available.
- Color Temperature Consistency: If you have a mix of smart bulbs from different brands or even different models from the same brand, their ‘white’ light might vary slightly. Use a white balance setting in your app, if available, or manually adjust the color temperature (e.g., from warm white to cool white) to achieve a consistent look across all lights in a room.
- Ambient Light Sensor Calibration: If your smart lighting system uses ambient light sensors to automatically adjust brightness (e.g., dimming lights during bright daylight), ensure these sensors are clean and unobstructed. In the app, you can often ‘teach’ the system what ‘bright’ and ‘dark’ look like by manually setting the lights during different times of day and saving those settings as reference points.
- Motion Sensor Sensitivity: For motion-activated lights, calibrate the sensitivity of the motion sensors. If lights are coming on too frequently or not at all, adjust the sensitivity settings in the app. Test different settings by walking through the detection zone at various speeds and distances.
- Scene and Routine Optimization: Once individual lights are calibrated, fine-tune your automated scenes and routines. Test them at different times of day and in various conditions to ensure they meet your expectations for brightness, color, and timing.
Accurate smart lighting calibration not only enhances the aesthetic appeal of your home but also ensures you’re maximizing energy savings by preventing unnecessary illumination and optimizing light output based on actual needs.
3. Smart Security Camera Calibration: Maximizing Surveillance Effectiveness
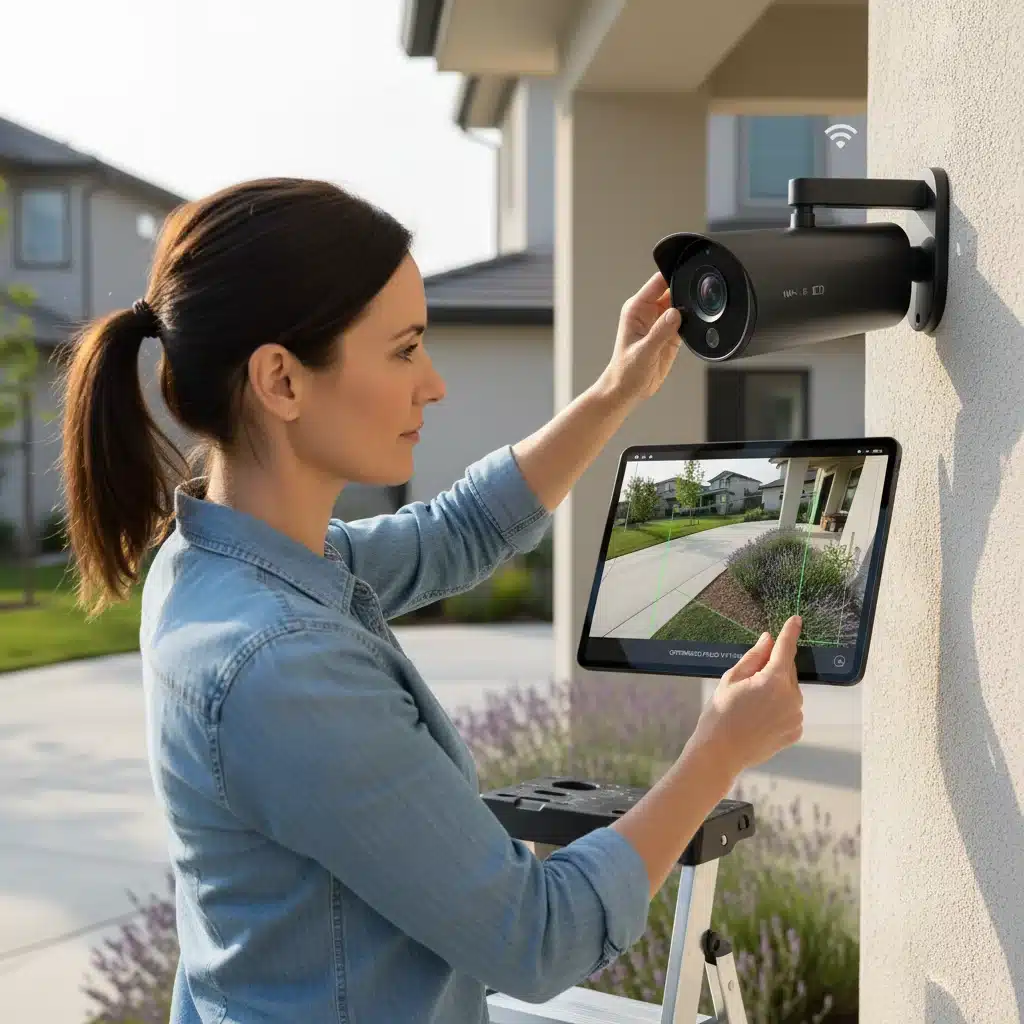
Smart security cameras are your eyes on your home, providing peace of mind whether you’re away or just in another room. However, a camera that isn’t properly calibrated can lead to missed events, false alarms, or ineffective monitoring. Smart security camera calibration involves ensuring optimal field of view, accurate motion detection, and reliable recording.
Step-by-Step Security Camera Calibration:
- Optimal Field of View (FOV): Position your camera to capture the most critical areas without unnecessary overlap or blind spots. If your camera has pan/tilt/zoom (PTZ) capabilities, manually adjust it to cover the desired zone. For fixed cameras, ensure its mounting angle provides the best coverage. Consider common entry points, valuable items, or areas where activity is expected.
- Motion Detection Zones: Most smart cameras allow you to define specific motion detection zones within the camera’s FOV. Calibrate these zones to focus on areas of interest (e.g., a doorway, a window, or a driveway) and exclude areas where motion is irrelevant (e.g., a busy street, swaying tree branches). This significantly reduces false alarms.
- Motion Sensitivity: Adjust the motion sensitivity settings. Too high, and every gust of wind or passing car will trigger an alert. Too low, and you might miss genuine events. Experiment with different levels during various times of day and weather conditions to find the sweet spot that captures relevant motion without constant false positives.
- Activity Zones/Person Detection: If your camera offers advanced features like ‘activity zones’ or ‘person detection,’ calibrate them carefully. Define specific areas where you want to be alerted for human presence, and use the person detection feature to filter out animal or vehicle motion, further refining your alerts.
- Night Vision/IR Calibration: If your camera has night vision, ensure the infrared (IR) illuminators are not obstructed. Test the night vision in complete darkness to verify its range and clarity. Adjust the camera’s angle slightly if you notice glare from nearby surfaces reflecting the IR light.
- Audio Calibration (if applicable): If your camera includes two-way audio, test the microphone and speaker functionality. Ensure the audio is clear and understandable on both ends. Adjust microphone sensitivity if you’re picking up too much background noise or if voices are too faint.
A well-calibrated smart security camera system is your first line of defense, providing reliable monitoring and accurate alerts when it matters most. Prioritizing smart security camera calibration is crucial for effective home protection.
4. Smart Lock Calibration: Ensuring Seamless Access and Security
Smart locks offer unparalleled convenience, allowing keyless entry and remote access control. However, for a smart lock to be truly secure and reliable, it must be perfectly aligned and calibrated with your door’s mechanics. An uncalibrated smart lock can struggle to engage the deadbolt, drain batteries prematurely, or even fail to lock/unlock, compromising both convenience and security. Proper smart lock calibration is paramount.
Step-by-Step Smart Lock Calibration:
- Check Door Alignment: Before anything else, ensure your door itself is properly aligned within its frame. A sagging or misaligned door can prevent any lock, smart or traditional, from functioning correctly. Check if the deadbolt freely extends and retracts into the strike plate when the door is open. If not, address door or strike plate alignment first.
- Physical Installation Check: Double-check that all screws are tightened appropriately, but not over-tightened, on both the interior and exterior components of the smart lock. Ensure the deadbolt mechanism moves smoothly without resistance when manually operated.
- Automatic Handing (if applicable): Many smart locks have an ‘automatic handing’ feature that detects whether your door is left-handed or right-handed during installation. If you’ve recently reinstalled the lock or changed batteries, it might be worth running this process again. Typically, you initiate this from the lock itself (e.g., pressing a button) or via the companion app. The lock will perform a series of turns to learn the door’s orientation.
- Manual Calibration/Offset (if available): Some advanced smart locks offer fine-tuning adjustments within their app. This might include adjusting the ‘throw’ distance of the deadbolt or the sensitivity of the motor. If your lock is consistently struggling to lock or unlock, these settings can help compensate for minor door frame imperfections.
- Test Lock/Unlock Cycles: After any adjustments, perform multiple lock and unlock cycles both manually (from the inside) and via the app (remotely). Listen for smooth operation and ensure the deadbolt fully extends and retracts without grinding or excessive force.
- Battery Level Monitoring: While not strictly calibration, monitoring battery levels is crucial for smart locks. Low batteries can mimic calibration issues, leading to sluggish operation. Ensure you’re using high-quality batteries and replace them proactively.
A perfectly calibrated smart lock provides reliable, secure access to your home, offering peace of mind that your entry points are always protected. Don’t overlook smart lock calibration as a critical security measure.
5. Smart Sensor Calibration: Ensuring Accurate Data for Automation
Beyond thermostats and cameras, a multitude of smart sensors form the backbone of a truly intelligent home. These include motion sensors, contact sensors (for doors/windows), leak detectors, air quality monitors, and more. The accuracy of these sensors directly impacts the effectiveness of your home automation routines. Incorrect readings or delayed responses can lead to missed alerts, inefficient energy usage, or simply frustrating inconsistencies. Regular smart sensor calibration ensures your home’s ‘nervous system’ is functioning optimally.
Step-by-Step Smart Sensor Calibration:
- Motion Sensor Placement and Sensitivity: As with security cameras, optimal placement is key. Ensure motion sensors cover the intended area without false triggers. Calibrate sensitivity settings in the app. Many sensors allow you to adjust detection range and ignore pets, which can drastically reduce false alarms.
- Contact Sensor Alignment: For door and window contact sensors, ensure the two parts (magnet and sensor) are perfectly aligned and within the recommended distance when the door/window is closed. A slight misalignment can cause the sensor to incorrectly register as ‘open’ or ‘closed.’ Test by opening and closing the door/window multiple times.
- Leak Detector Testing: While not a ‘calibration’ in the traditional sense, regularly testing your smart leak detectors is vital. Most have a test button or a way to simulate a leak (e.g., with a wet cloth). Confirm that the sensor triggers an alert immediately when water is detected.
- Air Quality Monitor Baseline: Smart air quality monitors measure various pollutants (VOCs, PM2.5, CO2). Many require a period of ‘learning’ to establish a baseline in your home. Ensure the device is placed in a well-ventilated area initially. Some advanced models allow for manual calibration against known good air quality readings, or have a ‘reset’ function to re-establish a baseline. Keep the sensors clean from dust.
- Light Sensor Recalibration: Similar to smart lighting, if individual light sensors are used for specific automations (e.g., turning on a lamp when it gets dark), periodically verify their readings. If your automation isn’t triggering correctly, clean the sensor and, if possible, recalibrate its ‘dark’ and ‘light’ thresholds in your smart home hub’s settings.
- Battery Status Monitoring: Many sensors are battery-powered. Low batteries can lead to erratic behavior, delayed responses, or complete failure. Use your smart home app to monitor battery levels and replace them proactively before they die.
By diligently performing smart sensor calibration, you ensure that the data feeding your smart home automations is accurate and timely, leading to a more responsive, efficient, and truly intelligent living space.
General Best Practices for Smart Home Calibration
While the specific steps for smart home calibration vary by device, some overarching best practices apply across your entire ecosystem:
- Read the Manual: This might seem obvious, but manufacturer manuals (or their online support pages) are invaluable resources. They often contain device-specific calibration instructions and troubleshooting tips.
- Consistency is Key: Try to perform calibrations under consistent conditions where possible. For temperature, ensure your HVAC system has been stable for a while. For lighting, consider different times of day.
- Check for Firmware Updates: Manufacturers frequently release firmware updates that can improve sensor accuracy, fix bugs, and even introduce new calibration features. Always keep your devices updated.
- Clean Your Sensors: Dust, dirt, and grime can obscure sensors and lead to inaccurate readings. Periodically clean visible sensors on cameras, thermostats, and air quality monitors with a soft, dry cloth.
- Test Regularly: Don’t just calibrate once and forget it. Make a habit of testing your automations and verifying sensor readings periodically, perhaps quarterly or semi-annually.
- Document Your Settings: Especially for complex systems, consider documenting your calibration settings. If you ever need to reset a device or replace it, having these notes will save you time and effort.
- Consider Professional Help: For extremely complex or integrated systems, or if you’re consistently struggling with calibration, don’t hesitate to contact a professional smart home installer or technician.
Adhering to these best practices will not only make your smart home calibration efforts more effective but also contribute to a more robust and reliable smart home experience overall.
The Future of Smart Home Calibration: AI and Predictive Maintenance
Looking ahead, the landscape of smart home calibration is poised for even greater automation and intelligence. In 2026 and beyond, we can expect AI and machine learning to play an increasingly dominant role, transitioning from manual adjustments to predictive and self-correcting systems.
Imagine a smart thermostat that not only learns your preferences but also constantly monitors its own sensor accuracy against external weather data and other networked home sensors. If it detects a drift, it could automatically apply an offset or even alert you to a potential hardware issue before it significantly impacts your comfort or energy bills. Similarly, smart lighting systems might use advanced algorithms to dynamically adjust brightness and color temperature based on real-time ambient light and even the time of day, without requiring manual ‘teaching’ sessions.
Security cameras could leverage AI to not only detect humans but also identify subtle changes in their field of view (e.g., a branch growing into the frame) and suggest recalibration or automatically adjust their motion detection zones. Smart locks might perform self-diagnostics on their motor and alignment, alerting you to potential issues before the lock jams or fails to secure your door.
The trend is towards ‘set it and forget it’ systems, where the need for manual smart home calibration is minimized, and devices proactively maintain their optimal performance. However, even with these advancements, understanding the principles of calibration and knowing how to perform manual checks will remain a valuable skill for any homeowner who wants to truly master their smart home environment.
The goal is a smart home that not only reacts to your commands but anticipates your needs and maintains its own health, providing a seamless and worry-free living experience. By staying informed and occasionally engaging with your devices’ settings, you’ll be well-prepared for this intelligent future.